
Blog
A Beginner’s Guide to Decorating Around Electricals
Nov
When it comes to decorating your home, it’s essential to pay attention to the finer details, especially when dealing with electrical outlets and fixtures. Electrical safety should be your top priority, ensuring that your decorating efforts don’t compromise the integrity of your home’s electrical outlets. In this guide, we’ll show you how to decorate around electricals safely and seamlessly.
Decorating around electricals is not as tricky as it seems, but there are a few things to know. Whether you’re giving a room a fresh coat of paint or adding wallpaper, you’ll need to navigate around electrical outlets, switches, and light fixtures. Here’s a step-by-step guide to help you achieve a professional finish.
Step-by-Step Instructions for a Seamless Finish
Step 1: Safety First
Before you start any decorating project, safety should be your top concern. Begin by turning off the power to the area you’ll be working on. You can do this by switching off the circuit breaker or fuse at your electrical panel. Yo can also double-check that the power is off by testing the outlet with a voltage tester.
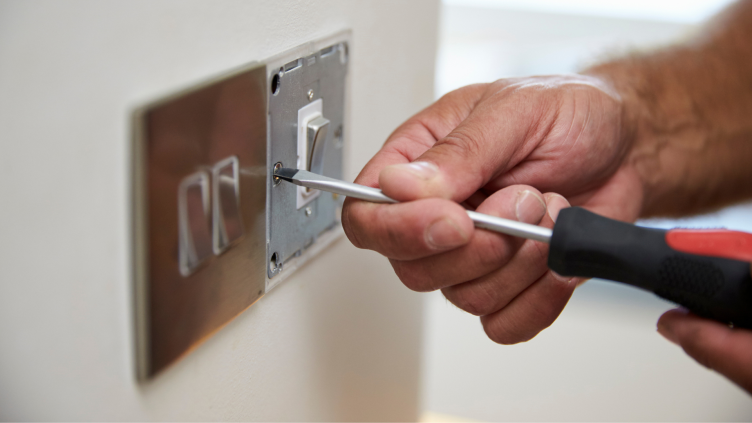
Step 2: Prepare the Area
Remove all furniture and cover the floor with a drop cloth to protect it from paint splatters or debris. Then, unscrew the faceplates and switches from the electrical outlets. Place the screws in a small container, so you don’t lose them.
Step 3: Mask Off Electricals
Use painter’s tape to carefully mask off the electrical outlets, switches, and fixtures. Make sure the tape is applied securely and that no gaps are left for paint to seep through. This will ensure a clean and polished look once you’re done.
Step 4: Prime the Surface
For a smooth and even finish, apply a coat of primer to the area you’ll be decorating around the electricals. This helps the paint adhere better and prevents it from peeling over time.
Step 5: Paint or Wallpaper
Now it’s time to apply your chosen paint or wallpaper. Be cautious around the masked-off areas, making sure not to get any paint or adhesive on the outlets or fixtures. Take your time and work carefully.
Step 6: Remove Masking
Once your paint or wallpaper is dry, carefully remove the painter’s tape. This step is crucial, as it will determine how clean the edges look. Go slow to avoid any accidental damage or peeling.
Step 7: Reassemble and Test
Finally, reattach the faceplates and switches to the electrical outlets. Turn the power back on at the electrical panel and check that everything is functioning correctly.
Stressing Safety Precautions: Protecting You and Your Home
It’s important to remember that safety should never be compromised when decorating, here are some additional safety precautions to keep in mind:
Always turn off the power before working near electrical outlets, switches, or fixtures.
Use the right tools and equipment for the job.
Ensure that your hands are dry and that you’re standing on a dry surface.
Do not overload electrical outlets with too many devices or appliances.
If you’re unsure about any aspect of electrical safety, consult a qualified electrician.
If you’re looking for more electrical tips or home tech info, follow our LinkedIn profile for regular updates and insights, or visit our website to check out our huge range of safety-first electrical supplies.